1. 미니콘다 설치
미니콘다(Miniconda)
파이썬 가상환경(Virtual Environment)을 사용하는 이유는 여러 프로젝트를 하는데 있어, 분리된 버전 및 패키지 설치 환경을 가질수 있기 때문입니다. 예를 들어, 하나의 로컬환경에서 파이썬 가상환
velog.io
<요약>
wget 4dc4214839c60b2f5eb3efbdee1ef5d9b45e74f2c09fcae6c8934a13f36ffc3e.sh
chmod -R 775 Miniconda3-latest-Linux-x86_64.sh
./Miniconda3-latest-Linux-x86_64.sh
2. 콘다 가상 환경 구축

conda env list를 했는데 커맨드를 못찾겠다고 하면?
환경변수 등록이 안 된 것이기 때문에..

다음과 같이 경로를 export를 해서 환경변수를 등록해주자.
그러면
export PATH=~/miniconda3/bin/:$PATHconda --version을 했을 때, 결과물이 나온다.
[Error] conda : command not found 에러 해결법 (아나콘다 설치 오류)
에러 Ubuntu 환경 내에 올바르게 Anaconda를 설치했음에도 불구하고 conda : command not found라는 에러가 떴고 Anaconda 관련된 모든 명령어가 실행되지 않았습니다. 이는 아나콘다 설치 폴더가 환경변수에
codest.tistory.com

conda create -n pytorch python=3.8을 이용하여 가상 환경을 만들어주자.
그래서 제대로 만들어졌는지 확인하기 위해서

conda activate pytorch를 쳐보니 다음과 같은 에러가 나온다.
CommandNotFoundError: Your shell has not been properly configured to use 'conda activate'.
To initialize your shell, run
$ conda init <SHELL_NAME>
Currently supported shells are:
- bash
- fish
- tcsh
- xonsh
- zsh
- powershell
See 'conda init --help' for more information and options.
IMPORTANT: You may need to close and restart your shell after running 'conda init'.

다음과 같이
source ~/miniconda3/etc/profile.d/conda.sh를 해주고나서
conda 명령어를 치면 활성화가 된다.
3. 파이토치 설치
conda install pytorch torchvision cudatoolkit=11.3 -c pytorch명령어를 이용하여 파이토치를 설치해주자.
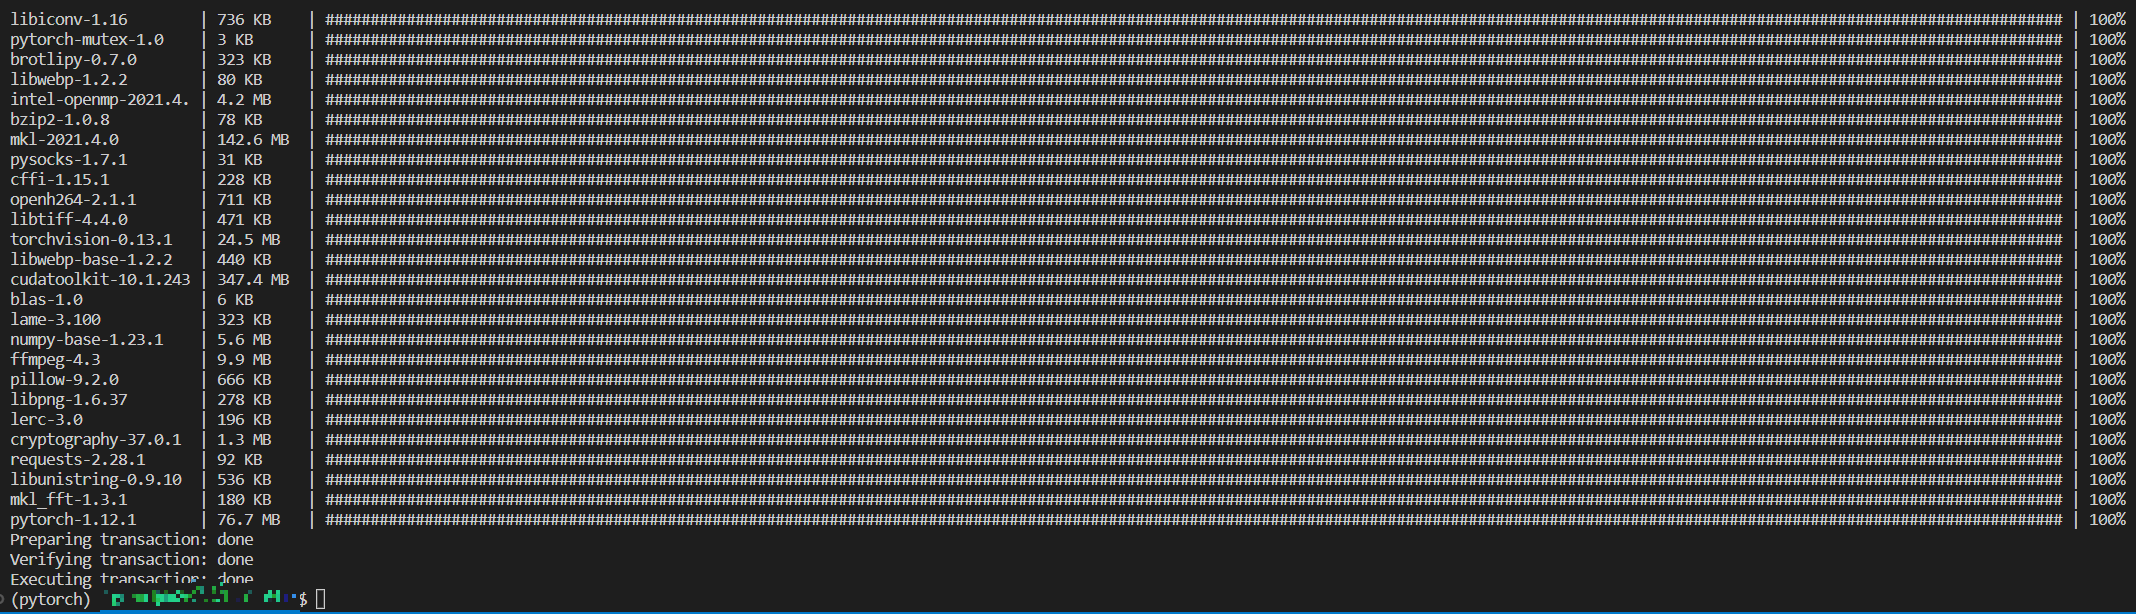
다음과 같이 완료!
추가적으로 아래 라이브러리도 함께 설치해주자
conda install jupyter pandas matplotlib
4. VS Code 원격 실행
ssh 접속 후, interpretor를 변경해준 다음에
아래와 같이 코드를 실행해줍니다.
import torch
print(torch.__version__)

그렇게 해서 버전에 출력되면 끝!!!
'Debugging' 카테고리의 다른 글
| output exceeds the size limit. open the full output data in a text editor python 오류 해결 방법 (0) | 2025.01.19 |
|---|---|
| 리눅스, 파이썬, 파이토치, ROS 가상환경 구축하기 (0) | 2025.01.19 |
| ROS 자체 메세지 추가 방법 (0) | 2025.01.19 |
| Gazebo - human following issue (0) | 2022.10.04 |
| Eclipse C/C++ 환경에 Eigen Library 추가 방법 (0) | 2022.01.03 |


